

Making bread at home may sound complicated, but it becomes surprisingly simple when you use the right method. This easy bread recipe is designed for beginners and requires only a few basic ingredients. You do not need professional baking equipment or advanced skills to prepare a soft, flavorful loaf with a beautifully golden crust.
The most important parts of bread making are using active yeast, measuring the flour correctly, kneading the dough until it becomes elastic, and allowing enough time for it to rise. Follow the visual and texture cues in this recipe rather than relying only on the clock, because room temperature and humidity can affect the dough.
This homemade bread is suitable for sandwiches, toast, breakfast, soups, and everyday meals.
Easy Bread Recipe at a Glance
- Preparation time: 20 minutes
- Rising time: 1½ to 2 hours
- Baking time: 25 to 30 minutes
- Total time: Approximately 2½ hours
- Yield: One standard loaf, about 10 to 12 slices
- Difficulty: Beginner-friendly
Simple Ingredients You’ll Need
This easy bread recipe uses affordable ingredients that are usually available in most kitchens.
| 3¼ cups all-purpose flour, plus extra if required |
| 1 cup warm water |
| 2¼ teaspoons active dry yeast |
| 2 tablespoons granulated sugar |
| 1 teaspoon salt |
| 2 tablespoons olive oil or melted unsalted butter |
| A small amount of oil for greasing |
For consistent results, measure the flour by gently spooning it into the measuring cup and leveling the top. Scooping flour directly from the container can compact it, causing you to add too much and produce a dense loaf.
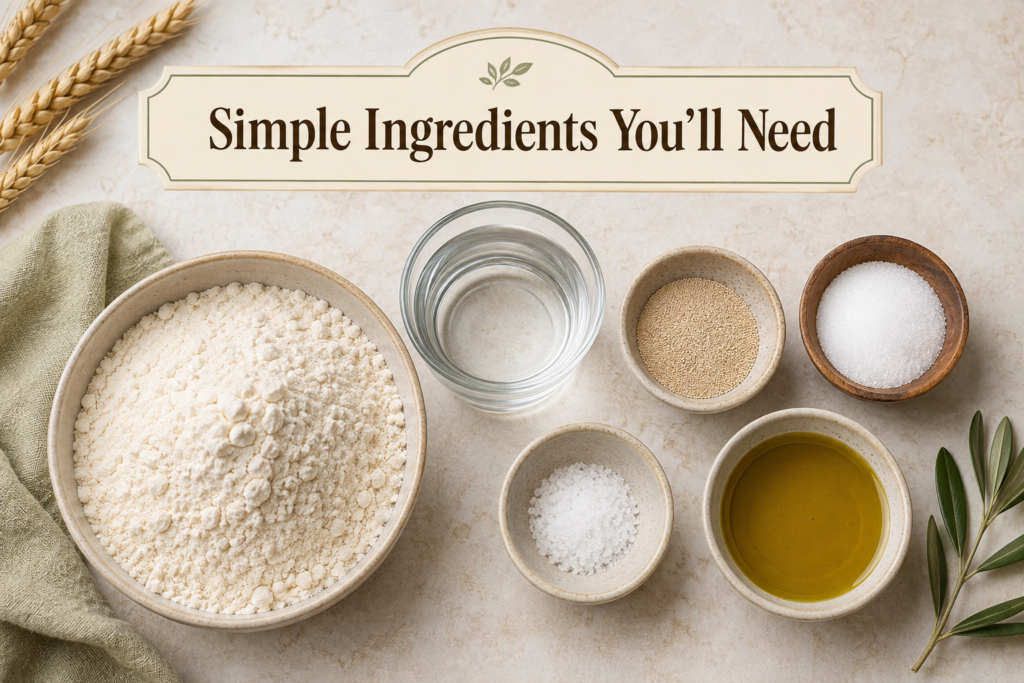
The water should feel comfortably warm rather than hot. A temperature of approximately 105°F to 115°F, or 40°C to 46°C, is ideal for activating active dry yeast. Very hot water can damage the yeast, while cold water may slow fermentation.
Basic Equipment for Bread Making
You do not need a bread machine or stand mixer for this recipe. Gather the following basic equipment:
- A large mixing bowl
- Measuring cups and spoons
- A wooden spoon or sturdy spatulaA clean kitchen towel or reusable bowl cover
- A greased 9-by-5-inch loaf pan
- A cooling rack
A kitchen thermometer is optional but helpful for checking the water and the internal temperature of the baked bread.
How to Make Easy Bread Step by Step?
- Activate the Yeast
Pour the warm water into a large mixing bowl. Add the sugar and stir until it begins to dissolve. Sprinkle the active dry yeast over the water and leave it undisturbed for five to ten minutes.
The mixture should become creamy or foamy on top. This foam indicates that the yeast is alive and producing gas. If nothing happens after ten minutes, the yeast may be expired or the water may have been too hot or cold. Start again with fresh yeast to avoid wasting the remaining ingredients.
If you are using instant yeast, it can usually be mixed directly with the flour, although following the instructions on its package is recommended.
- Prepare the Dough
Add the olive oil or melted butter and salt to the yeast mixture. Gradually add approximately three cups of flour, mixing with a wooden spoon after each addition.
The dough should begin to pull away from the sides of the bowl. Add the remaining flour a little at a time until the dough is soft and manageable. It may feel slightly sticky, but it should not be wet enough to coat your hands heavily.
Avoid adding too much flour. A dough that is slightly tacky usually produces softer bread than a stiff, dry dough.
- Knead the Dough
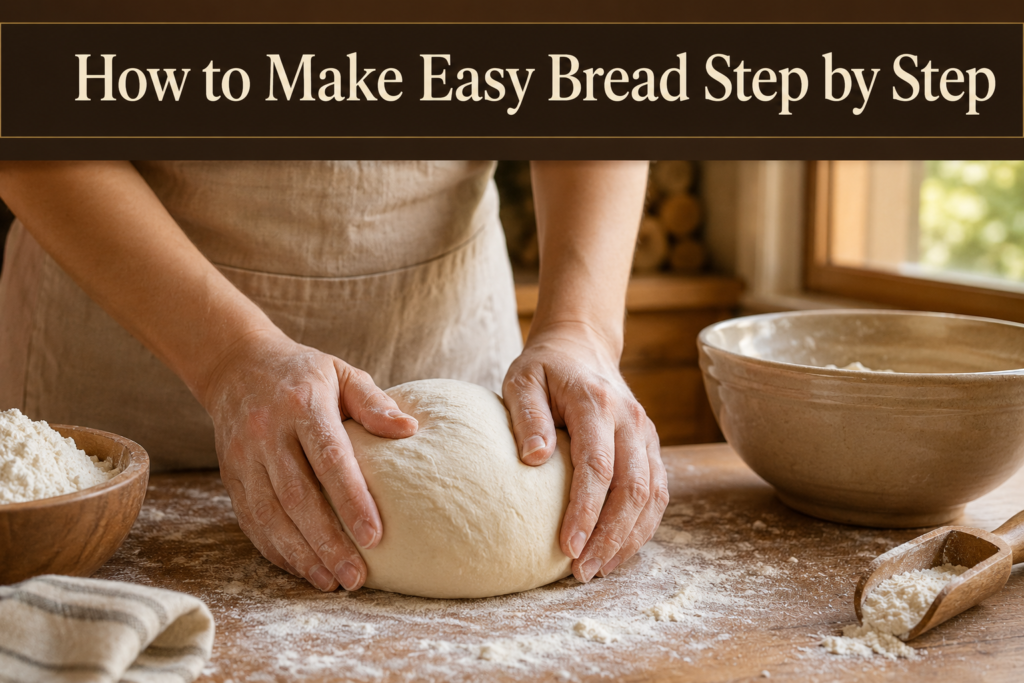
Transfer the dough to a lightly floured work surface. Knead it for approximately eight to ten minutes.
To knead by hand, press the dough forward with the heel of your palm, fold it back toward yourself, turn it slightly, and repeat. Add only a small amount of flour if the dough sticks excessively.
The properly kneaded dough should look smooth and feel elastic. To test it, stretch a small piece between your fingers. If it forms a thin membrane before tearing, the gluten has developed sufficiently. This is commonly known as the windowpane test.
- Allow the Dough to Rise
Lightly grease a clean bowl and place the dough inside. Turn it once so that a thin layer of oil coats its surface. Cover the bowl with a clean towel or reusable cover.
Place it in a warm, draft-free area and allow it to rise for approximately 60 to 90 minutes. The exact time will depend on the temperature of your kitchen.
Do not place the dough directly on a hot surface. A gently warm environment encourages steady fermentation without overheating the yeast.
How to Know When the Dough Has Risen?
The dough should approximately double in size during its first rise. However, size alone is not always the most reliable indicator.
Gently press a floured fingertip about half an inch into the dough. If the indentation slowly returns but remains slightly visible, the dough is ready. If it immediately springs back, it may need more time. If it collapses or the indentation does not move at all, it may be over-proofed.
After the first rise, press the dough gently to release large gas bubbles. Avoid aggressively punching or tearing it.
Shape the dough into a rectangle approximately as wide as your loaf pan. Roll it into a tight log and pinch the seam closed. Place it seam-side down in the greased pan.
Cover the pan and allow the dough to rise again for 30 to 45 minutes. It should rise slightly above the edge of the pan. Begin preheating the oven to 375°F or 190°C near the end of this second rise.
Baking, Cooling, and Serving
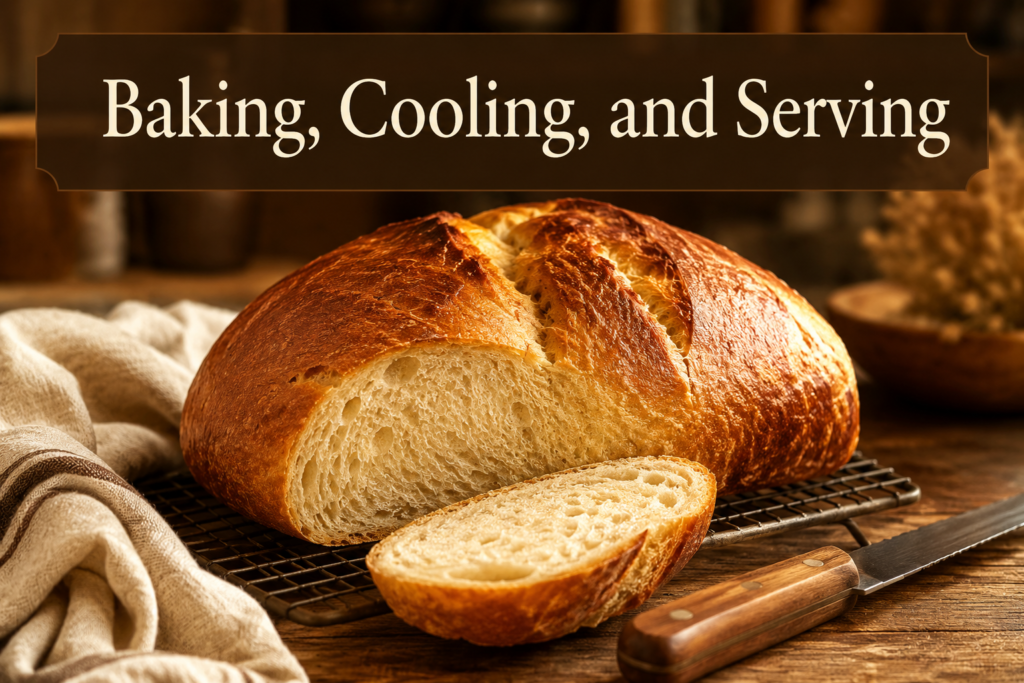
Bake the bread in the preheated oven for approximately 25 to 30 minutes. The surface should become evenly golden brown.
If the top starts browning too quickly, loosely cover it with aluminum foil during the final ten minutes. Do not wrap it tightly, as the bread still needs room to expand and release steam.
The loaf should sound hollow when tapped on the bottom. For a more accurate test, insert an instant-read thermometer into the center. A basic white loaf is generally ready when its internal temperature reaches approximately 190°F to 200°F, or 88°C to 93°C.
Remove the bread from the pan and transfer it to a wire rack. Let it cool for at least one hour before slicing. Cutting hot bread may release steam too quickly and create a sticky, compressed texture.
Serve the cooled bread with butter, jam, eggs, soup, or your favorite sandwich fillings. It can also be toasted and topped with avocado, cheese, or garlic butter.
Troubleshooting Common Bread Problems
| Q. Why Is My Bread Dense? A. Dense bread can result from inactive yeast, insufficient kneading, too much flour, or inadequate rising time. Check the yeast before mixing the dough and use texture cues to decide when the dough has risen properly. |
| Q. Why Didn’t My Dough Rise? A. The room may have been too cold, the yeast may have expired, or the water may have been too hot. Move the covered bowl to a comfortably warm location and give it additional time. |
| Q. Why Is the Bread Dry? A. Adding excessive flour or baking the loaf for too long can make bread dry. Keep the dough soft and slightly tacky, and begin checking the loaf a few minutes before the suggested baking time ends. |
| Q. Why Did the Bread Collapse? A. The dough may have over-proofed during the second rise. Over-proofed dough can become too weak to hold its structure in the oven. Bake it when the dough rises just above the loaf pan and responds correctly to the fingertip test. |
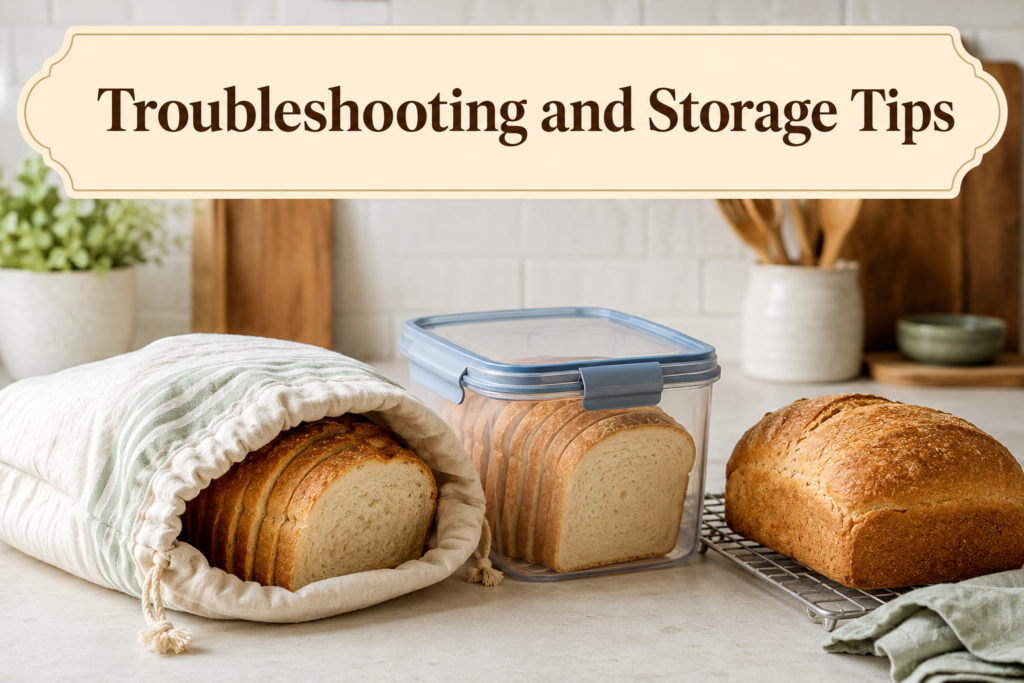
| Q. How to Store Homemade Bread? A. Allow the bread to cool completely before storing it. Placing warm bread in a sealed container traps moisture and may make the crust soggy. Store the loaf in a bread box or tightly closed food-safe bag at room temperature for up to three days. Homemade bread does not contain the same preservatives as many commercial loaves, so it may lose freshness sooner. For longer storage, slice the cooled loaf and place the slices in a freezer-safe bag. Remove as much air as possible and freeze for up to three months. Individual slices can be reheated directly in a toaster or left at room temperature to thaw. Refrigeration is generally not recommended because it can cause bread to become stale faster, although refrigeration may be useful in extremely hot or humid conditions. |
Final Thoughts
This easy bread recipe proves that homemade bread does not have to be intimidating. By checking the yeast, keeping the dough soft, kneading it properly, and watching for signs of a complete rise, even a beginner can create a dependable loaf.
Once you are comfortable with the basic recipe, experiment by adding dried herbs, grated cheese, roasted garlic, seeds, or a small portion of whole-wheat flour. Start with the original version first so you can understand how properly prepared bread dough should look and feel.
With simple ingredients and a little patience, you can enjoy fresh, soft homemade bread with a golden crust whenever you want.